Big crush for the covered terrace
Big crush for the covered terrace


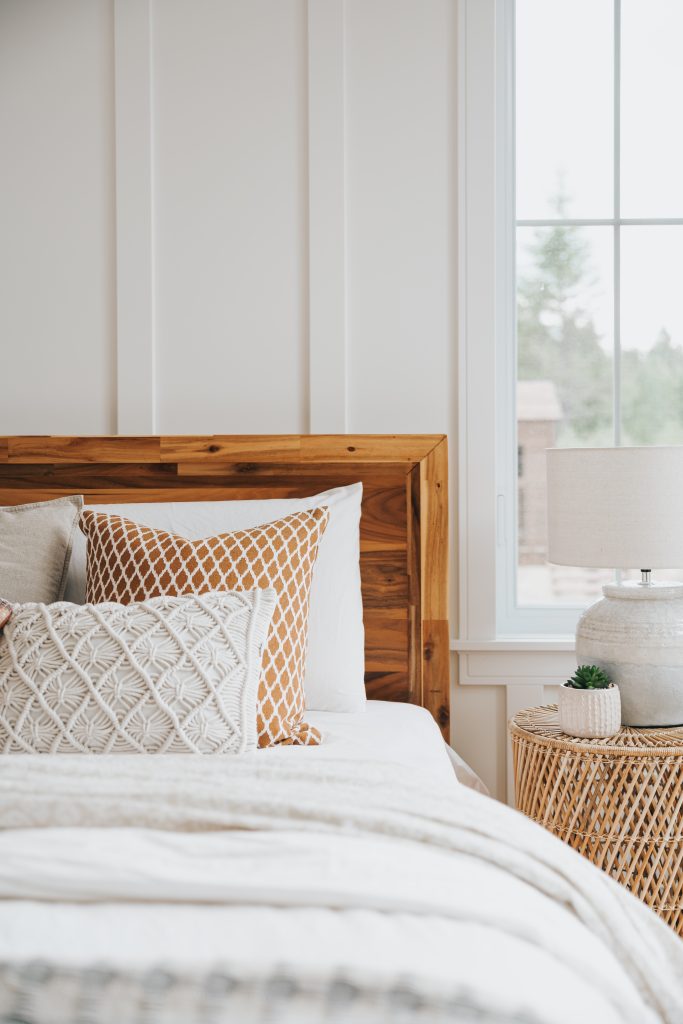
Whether you are a beginner or experienced in finishing projects, there are simple ways to successfully install your casings. With the right techniques, every cut can transform the look of a room. Discover five easy and effective installation methods to achieve a result perfectly suited to your style.
Find all the materials you need at a retailer near you.
1. 0885 |Crown
2. 1801| Architrave
3. 1925 | Chair rail
4. 1860| Casing
5. 1314 | Baseboard
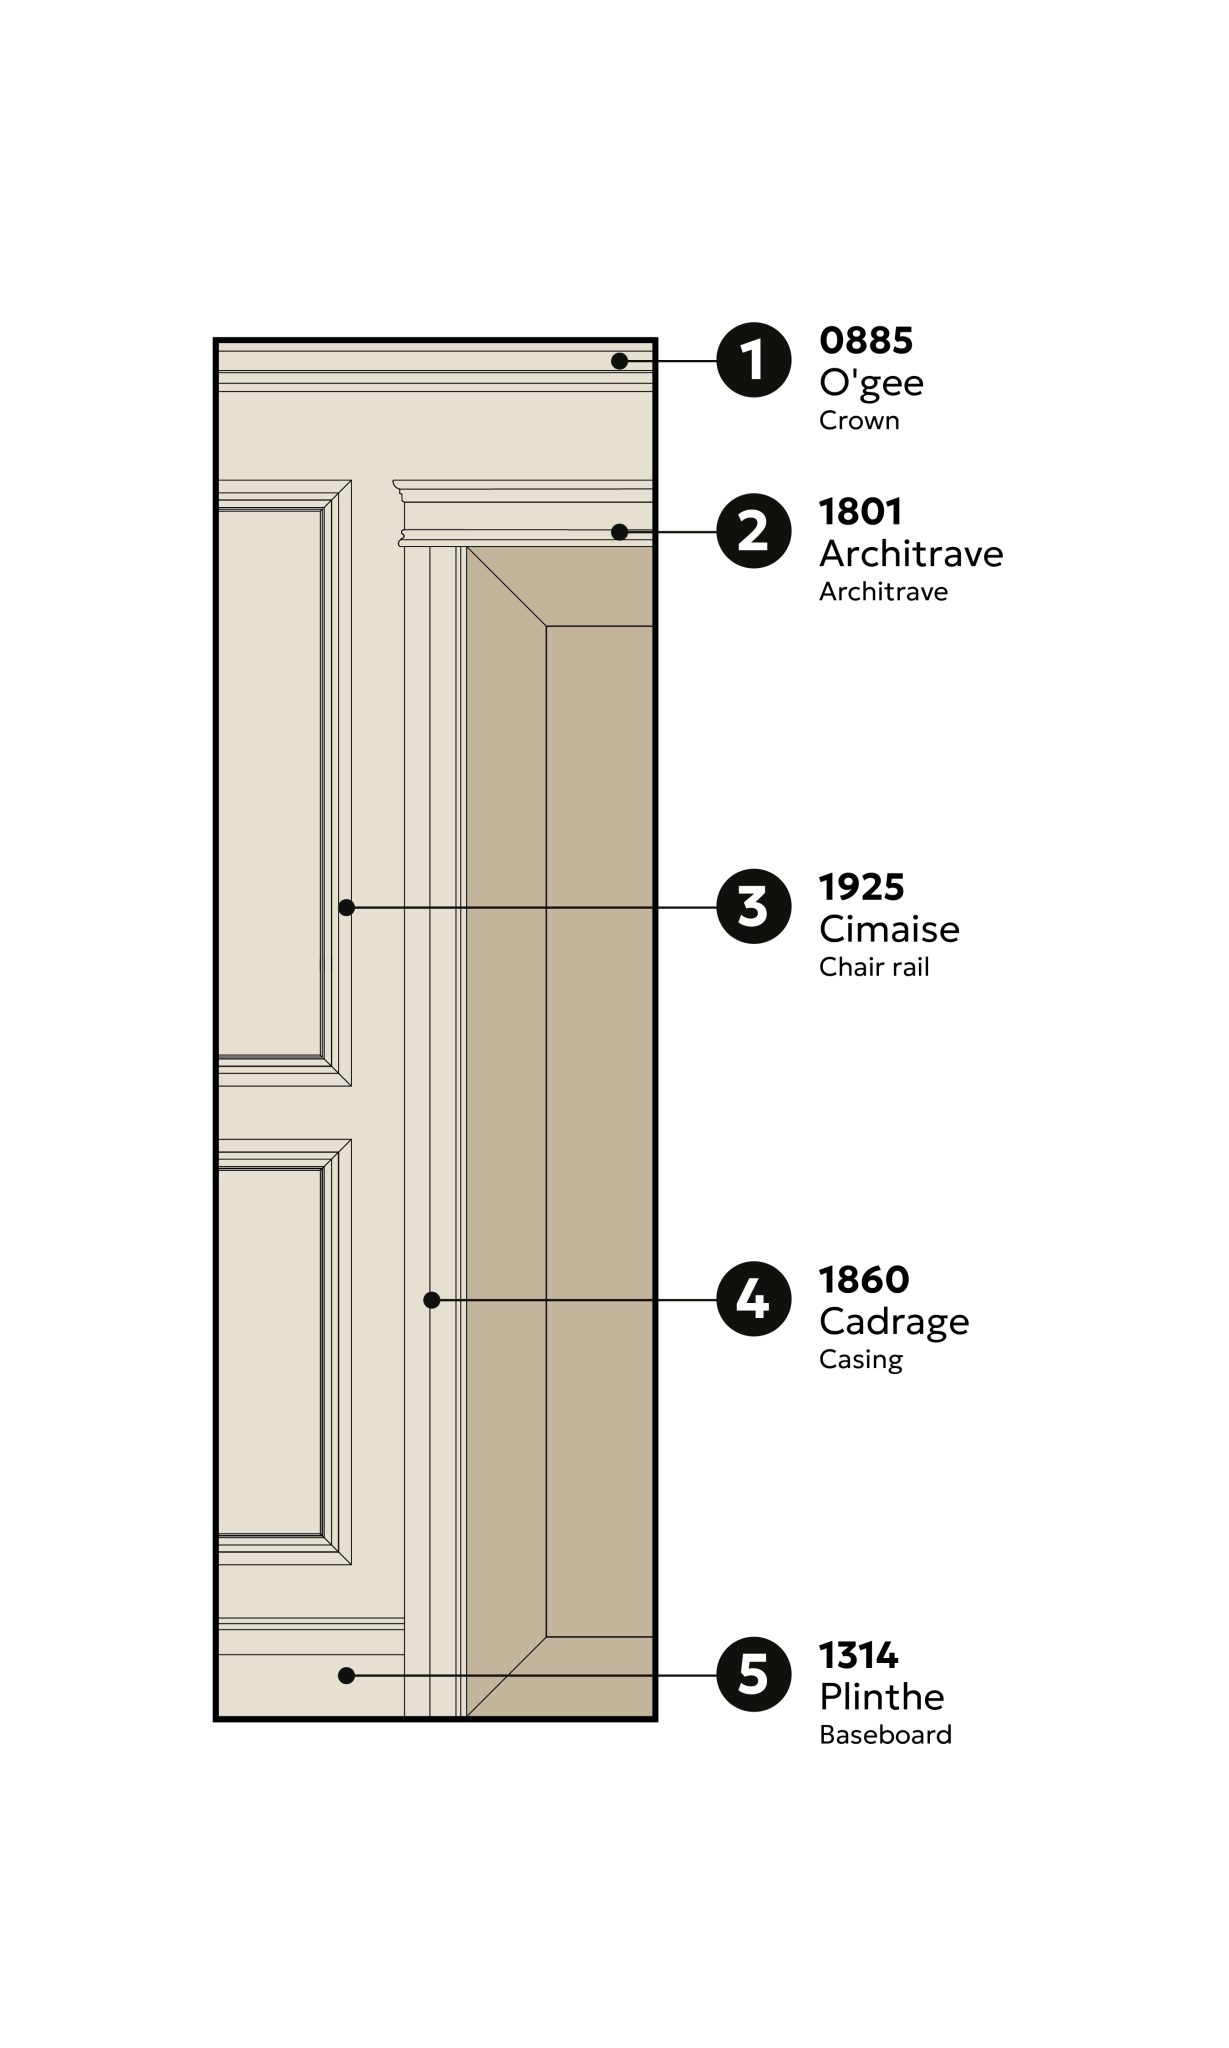
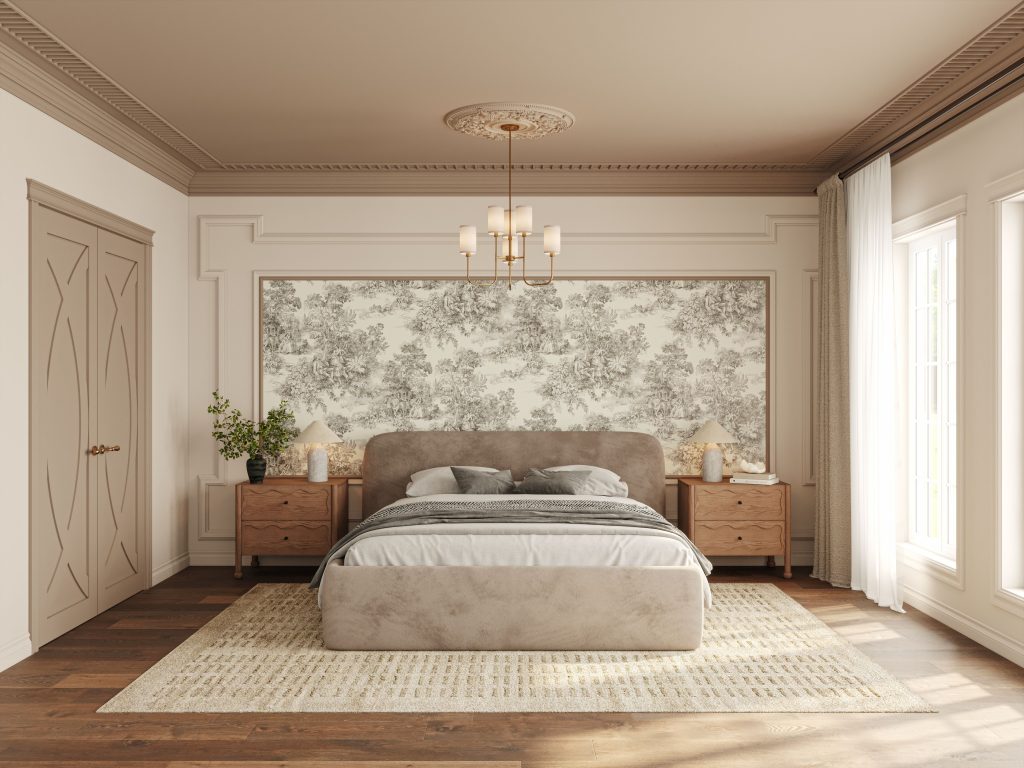
A mitre cut consists of trimming the ends of the mouldings at 45° so that two pieces meet to form a 90° corner. By assembling all four corners this way, you get a box, door casing, or window casing with clean and continuous angles. This technique makes the joints nearly invisible and provides a polished, professional finish.
Learn how to make 45° cuts in our web series.
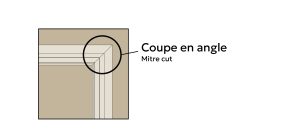
1. 4885 |Crown
2. 0954| Rosette
3. 4411 | Casing
4. 0954| Plinth block
5. 4449 | Baseboard
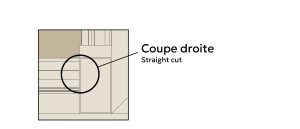
A straight cut consists of cutting the ends of mouldings perpendicular (at 90°) so they meet another piece directly. This technique allows door and window casings, as well as baseboards, to terminate neatly into rosettes or plinth blocks. It provides a clean and simple finish, ideal for a classic and precise look.
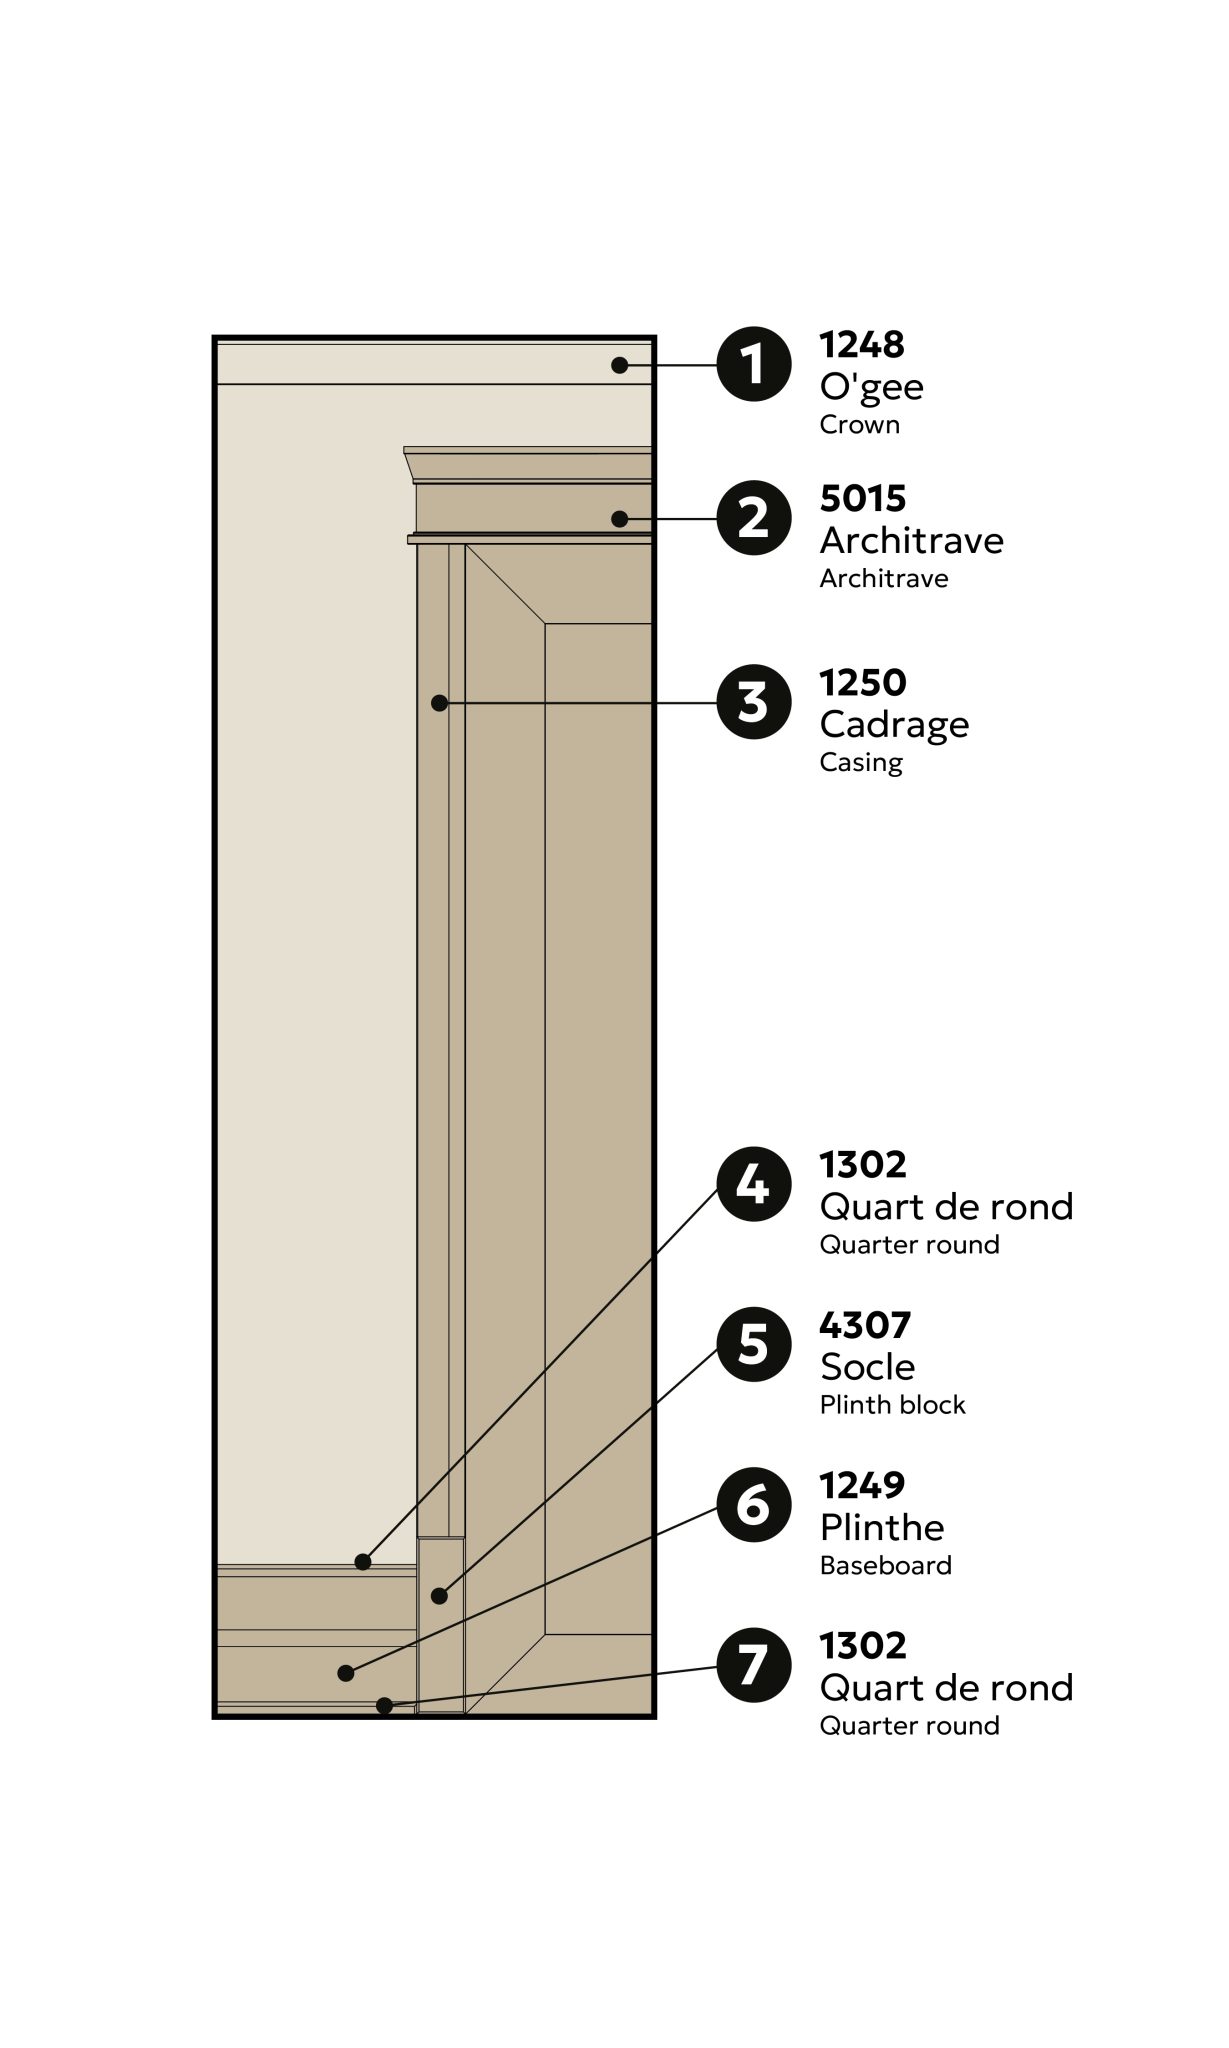
1. 1248 | Crown moulding
2. 5015| Architrave
3. 1250| Casing
4. 1302| Quarter round
5. 4307 Plinth block
6. 1249 | Plinthe
7. 1302| Quarter round
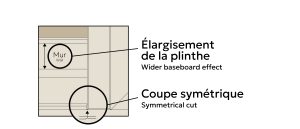
The symmetrical cut consists of adjusting the chamfer, the small beveled surface of the quarter round, so that it aligns perfectly with the plinth block.
Generally, a plinth block should be thicker than, or at least equal in thickness to, the casing or baseboard.
In this example, the combined quarter round and baseboard (6 & 7) have a thickness of 15/16″, while the plinth block (5) has a thickness of 12/16″. A chamfer is cut on the end of the quarter round at an angle that reflects, like a mirror, the profile of the plinth block while giving the appearance that the moulding is equal to it.
This technique provides a harmonious, polished finish with a professional look.
This technique consists of installing a quarter round a few inches above the existing baseboard, then painting the wall between the two the same colour as the baseboard and quarter round. It creates the appearance of a wider, more substantial baseboard while achieving this effect at a lower cost.
Watch our web series to choose the right plinth block.
Learn more about plinth block installation in our web series.
Watch our web series to enhance your baseboards.
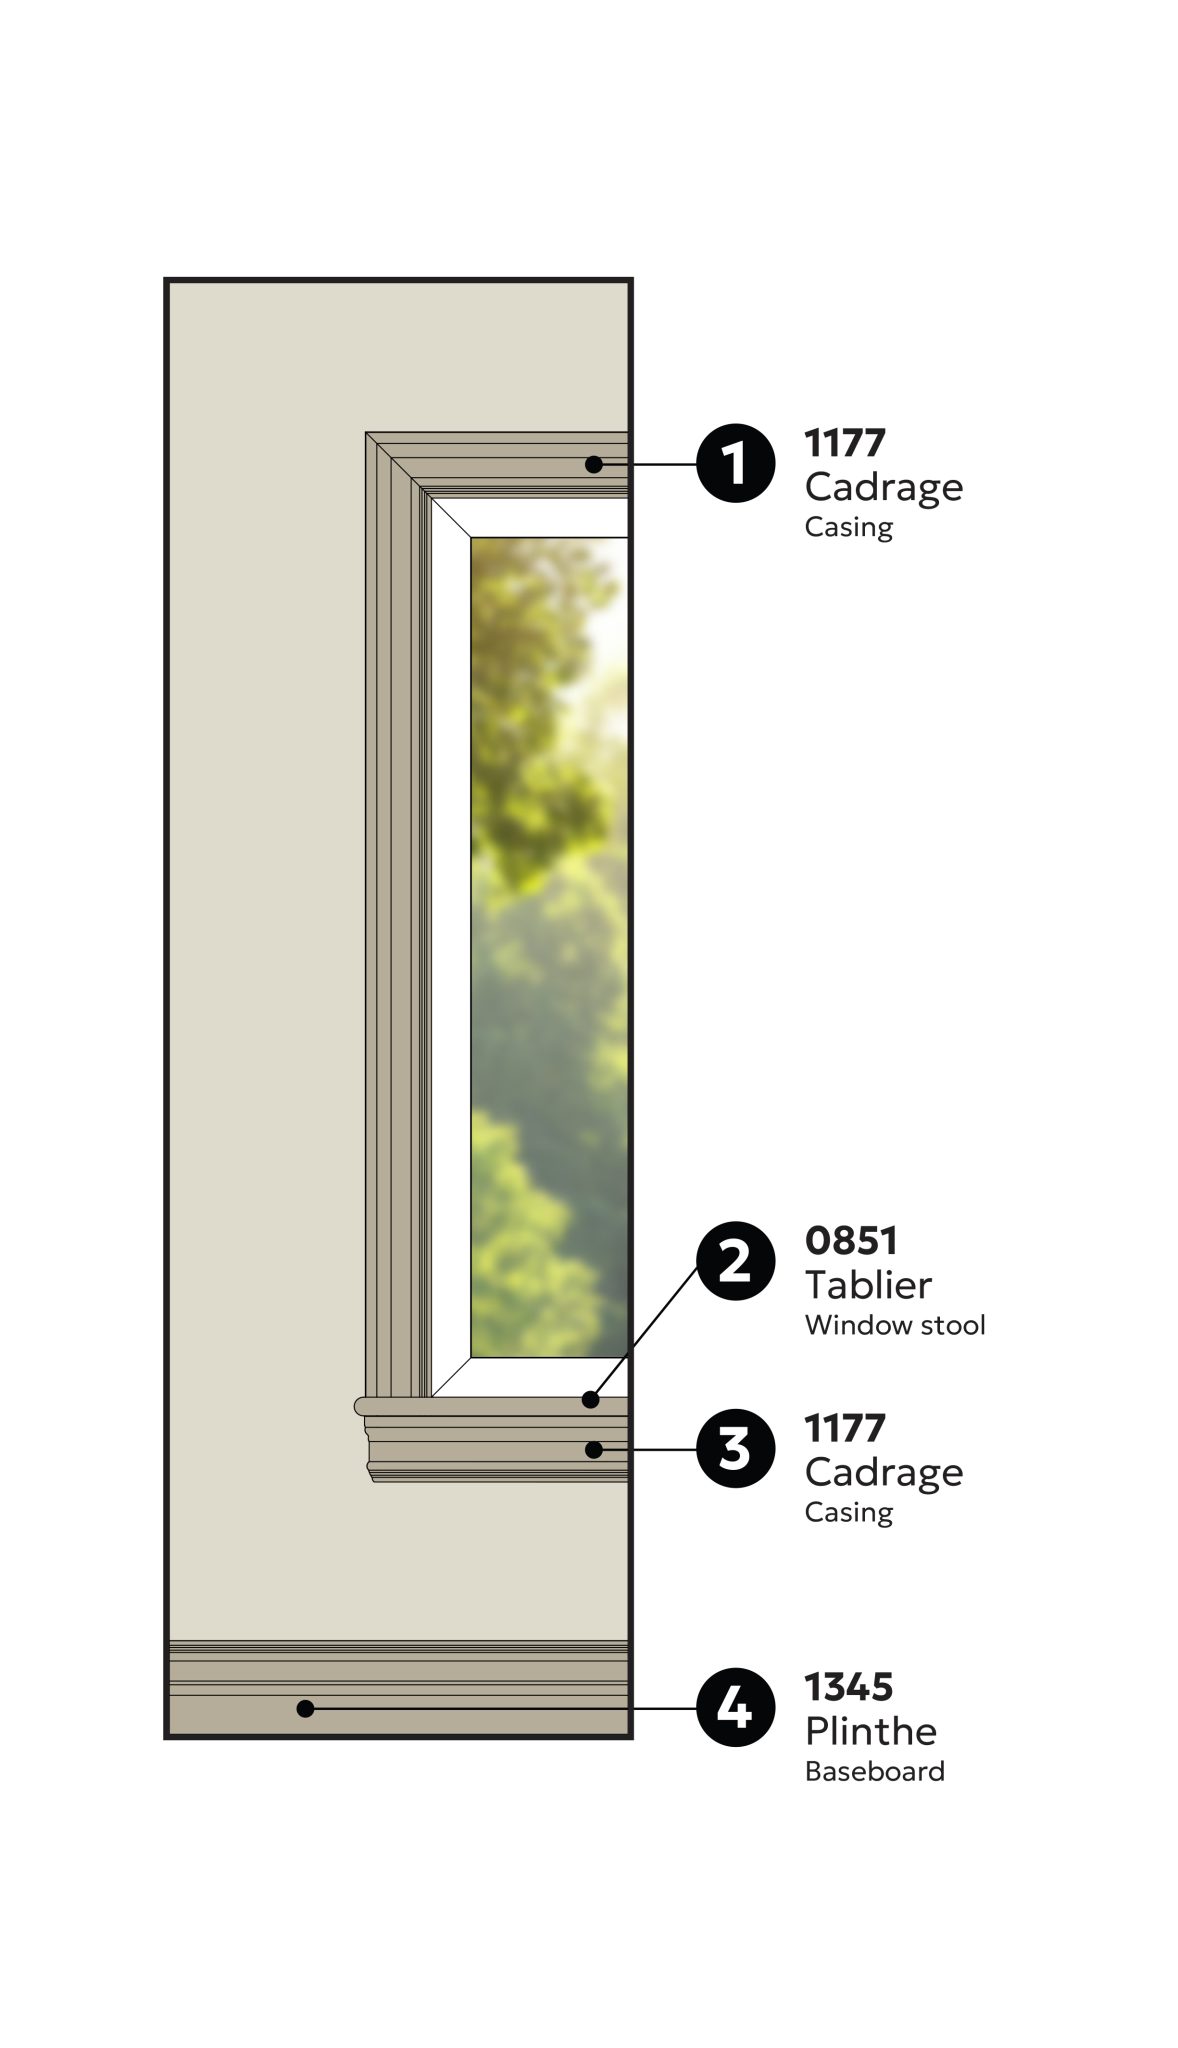
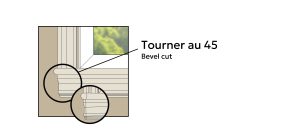
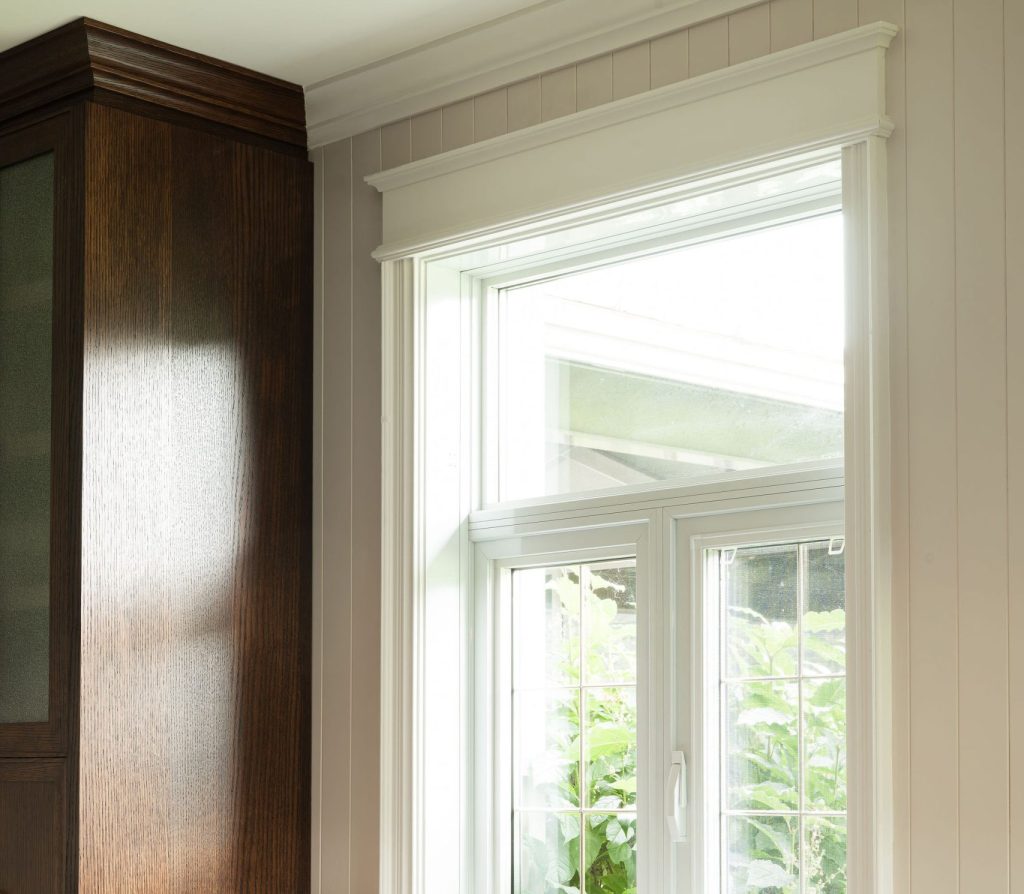
Unlike the classic 45° cut, this technique involves turning the window stool and bottom casing only at the ends. The face moulding is cut at 45° on both ends, while the turning mouldings are beveled only on the end joined to the face moulding. This method creates a smooth visual transition between the stool and casing, providing a neat and harmonious finish.
![]() Tips and tricks !
Tips and tricks !
Watch our web series to follow the correct installation order.
Learn how to make a bevel cut in our web series.
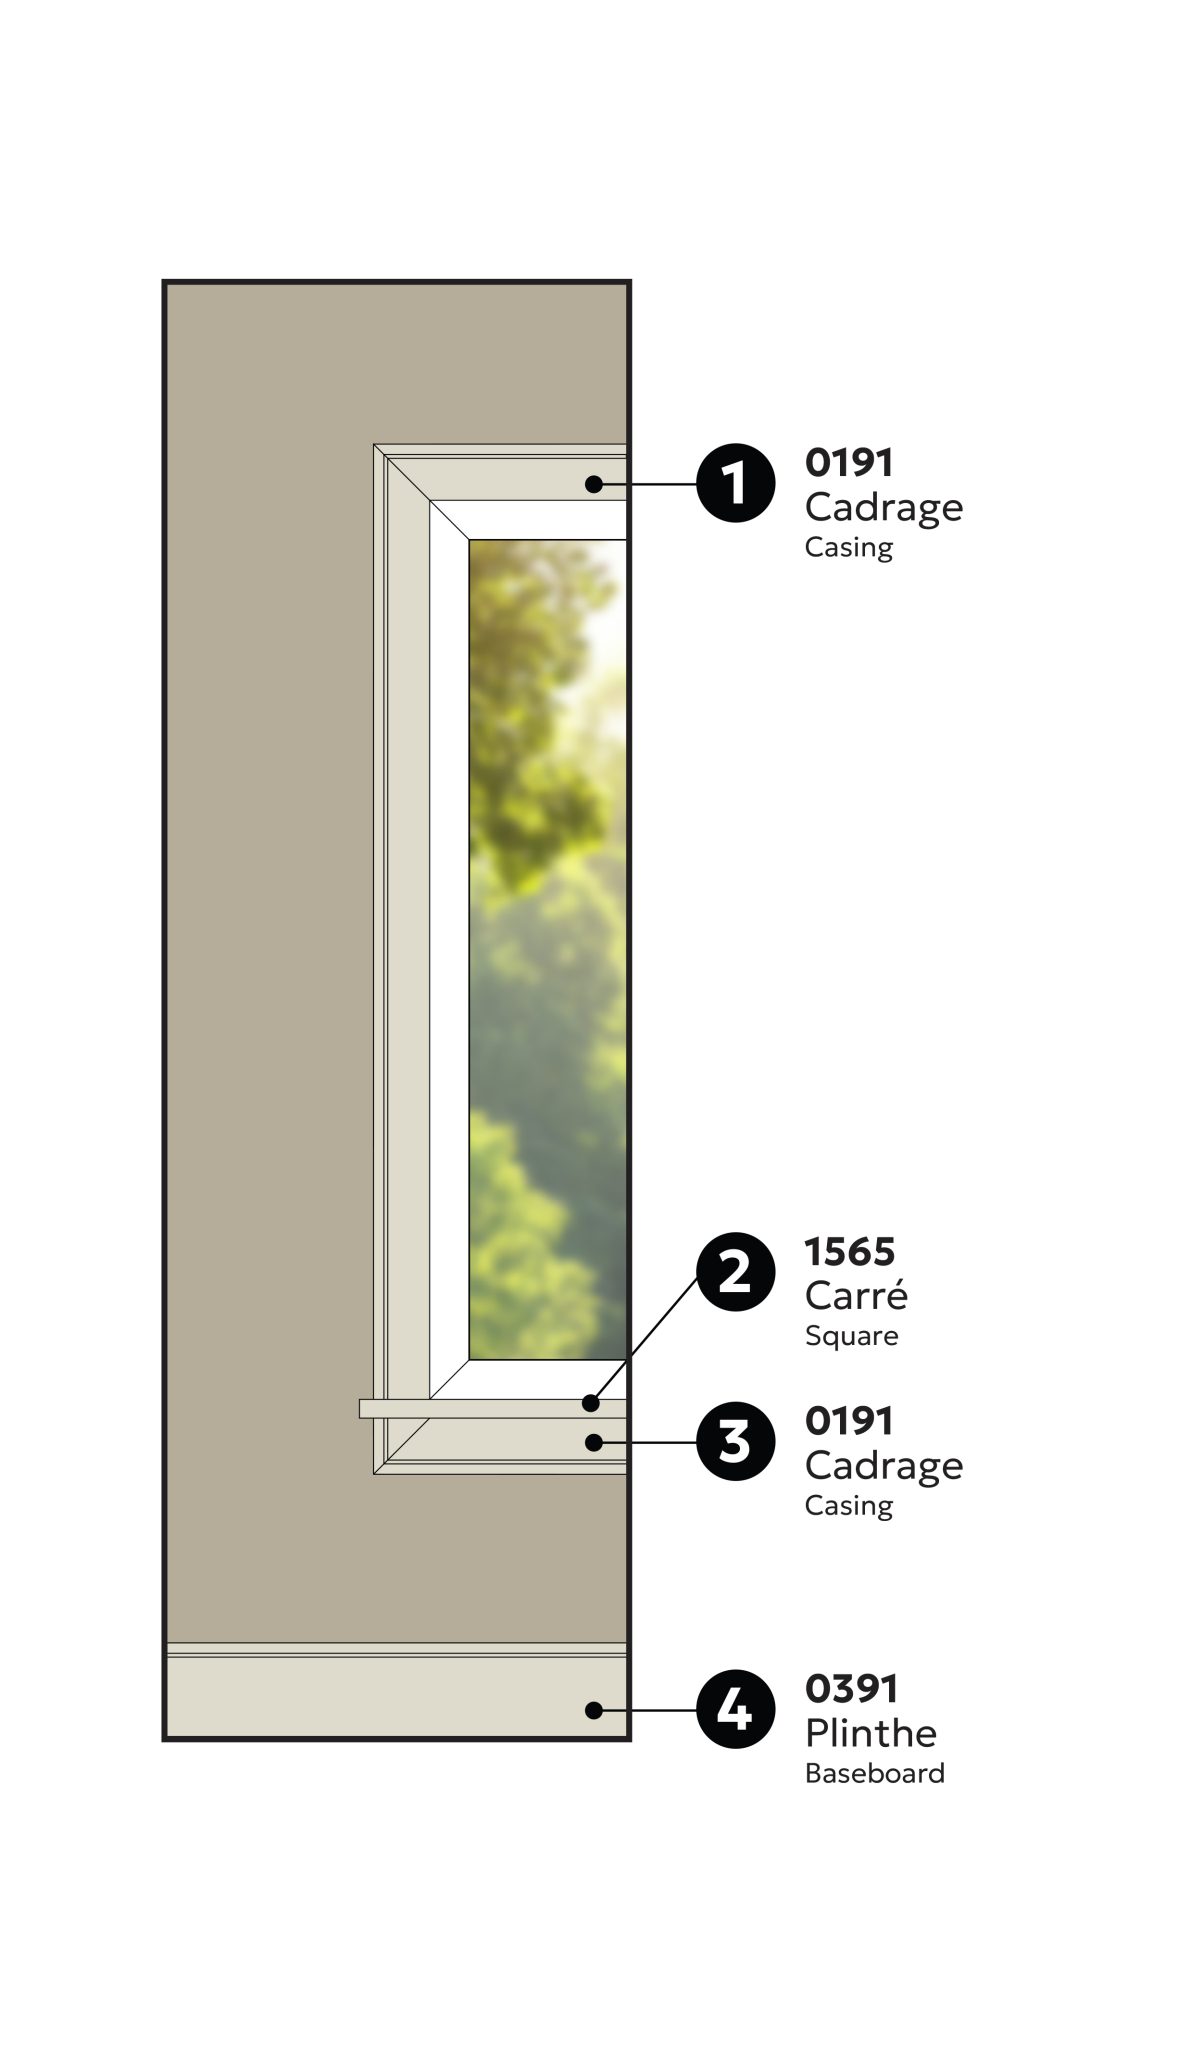
The 45° cut under the window stool allows the moulding profile to follow seamlessly around the casing.
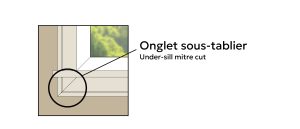
Below the stool, to continue the side casings and create the illusion of a continuous moulding, two small triangles (miters) are cut, then the bottom casing is finished with a moulding cut at a 45° angle on its ends.
The casings placed on top of the stool are cut straight, while the upper ends are cut at a 45° angle.
This technique creates a harmonious and elegant frame, with a polished finish that highlights every detail.
![]() Tips and tricks !
Tips and tricks !
Watch our web series to follow the correct installation order.
Learn how to make 45° cuts in our web séries.
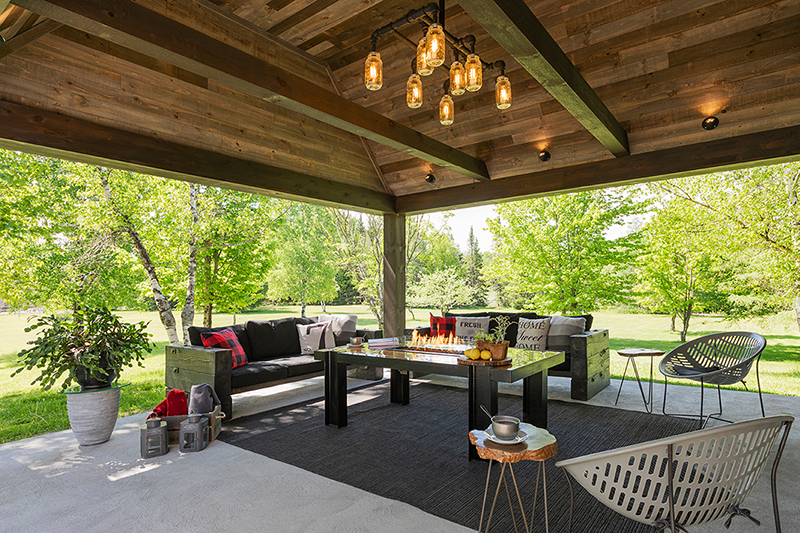
Big crush for the covered terrace
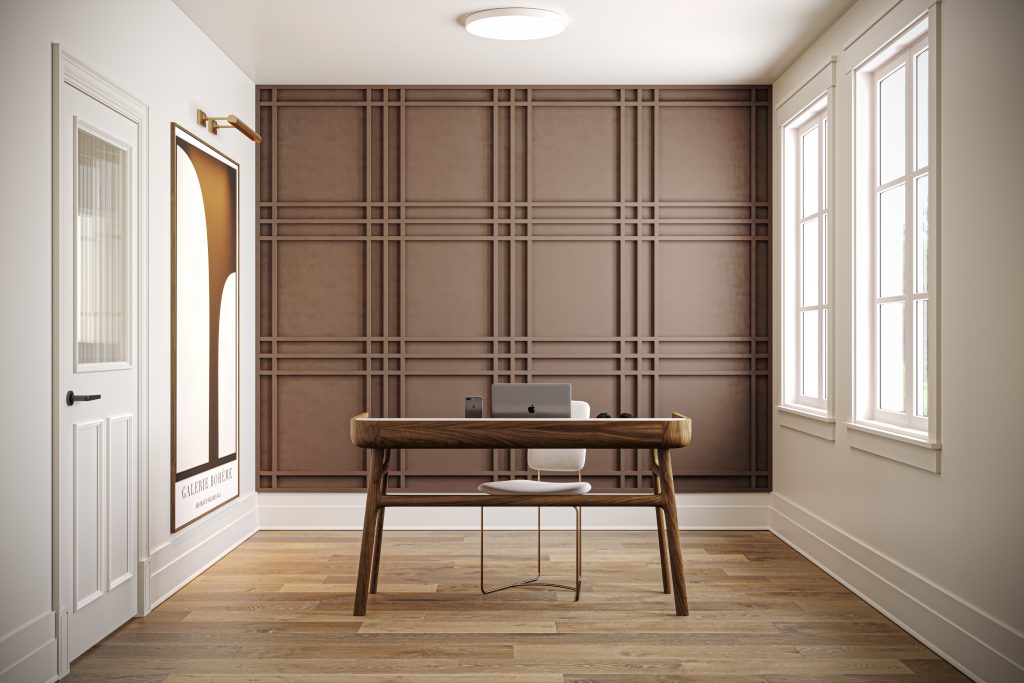
The architrave — a decorative moulding placed above doors or windows that truly elevates a space. Easy to install and affordable, it instantly adds character, depth and a high-end touch to your interior.

Are you familiar with mouldings in all their decorative forms?
While they are mainly used to hide finishing joints at the bottom of walls and around doors and windows…
Every year, the design world brings new innovations and inspiring creations to the table.
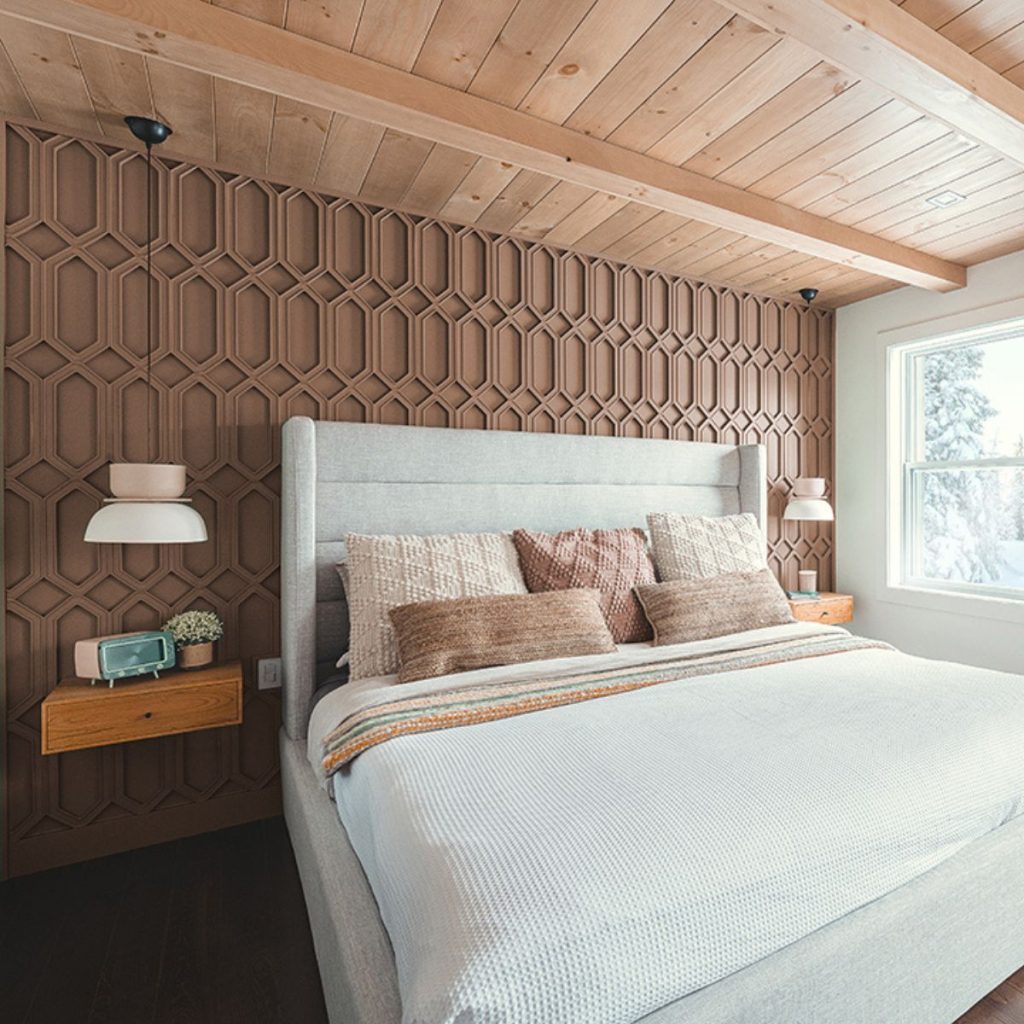
We’re proud to introduce our Hexo wall panels.
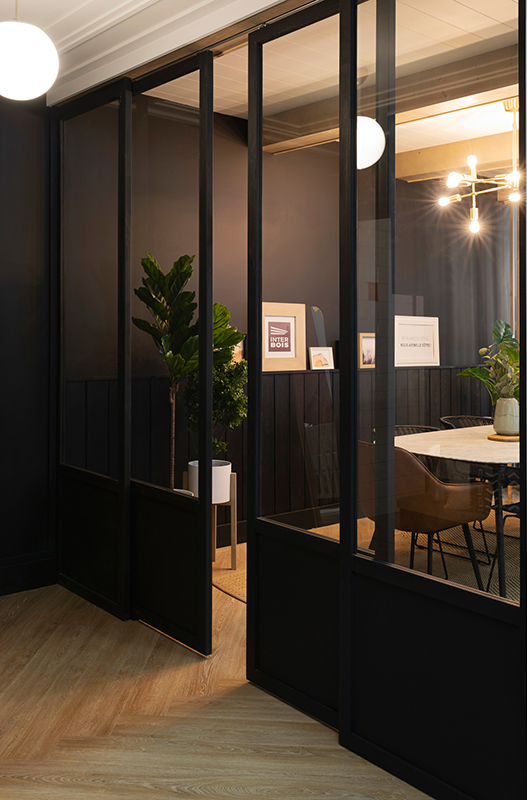
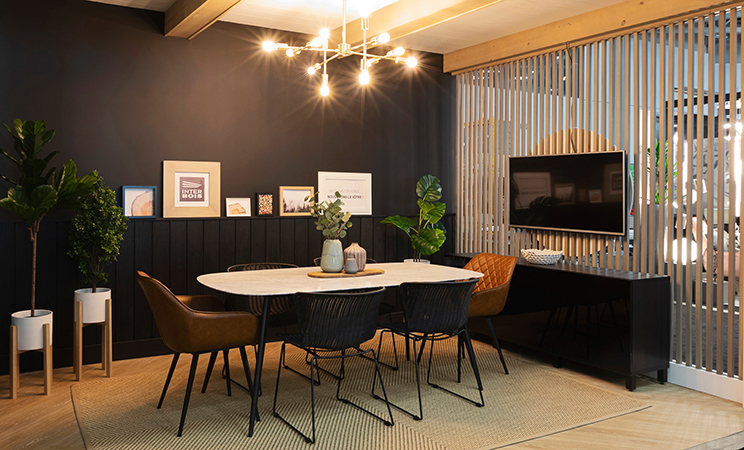
The loft style, characterized by a clean design, is part of the popular trends.


Today, we help you install this product and give you painting tips.